
Handling Renovation Debris with a Roll Off Dumpster
Every renovation has two projects inside it: the one on the design board and the one in the debris pile. Homeowners plan the first down to the cabinet pulls and improvise the second, which is how a kitchen remodel ends up with a demolished kitchen stacked in the garage for three weeks.
Debris planning is simpler than design planning, fortunately. It comes down to knowing how much waste demolition really creates, when the container should arrive, and which materials need their own path. Get those three right and the mess side of your remodel runs itself.
How do you get rid of renovation debris?
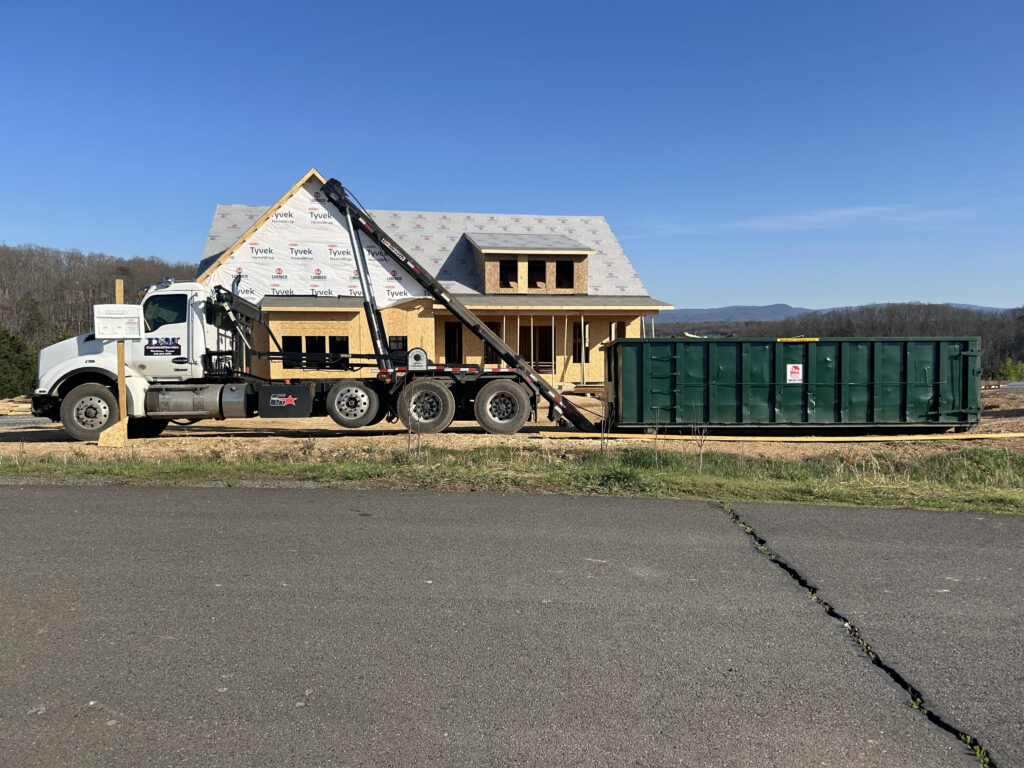
Rent a roll off dumpster and have it delivered before demolition starts, then load debris as it comes off the walls instead of piling it. A 10 yard container handles a single room refresh, a 20 yard covers most kitchen, bath, and multi room remodels, and a 30 yard fits additions and whole home projects.
Loading as you demo is the habit that matters most. Debris that lands in the container on day one never gets moved twice, never blocks the work zone, and never sits on the lawn killing grass while the project runs long. The dumpster is not just disposal, it is site management.

Demo debris outgrows the room it came from
Torn out material takes up three to four times the space it occupied in the wall. Drywall comes off in awkward broken sheets, cabinets refuse to nest, and a modest bathroom produces a mound of tile, backer board, vanity, tub surround, and flooring that shocks every first time renovator. The rule of thumb: whatever volume you are imagining, add half again. That is why the 20 yard is the default recommendation for kitchen remodels around Winchester even when the kitchen itself feels small. Empty space at the end of a project has never bothered anyone, while an overflowing container mid demo stops the job.
Mixed loads are completely fine, which is what makes roll offs suit renovations so well. Lumber, drywall, flooring, tile, cabinetry, countertops, trim, doors, windows, and old fixtures all ride together. The materials that need separate thought are the dense ones and the hazardous ones, and both are covered below.
Time the container to your project phases
Demolition produces most of a renovation’s debris in its first few days, so schedule delivery for the day before demo begins. A container that arrives after demo means double handling every armload. For longer projects, remember the swap: when the first container fills mid project, a truck hauls it away and drops an empty one in its place, keeping the site clear without a wasted day.
Fall timing deserves a note, since autumn is prime remodel season around Winchester for families racing to finish before the holidays. Contractor calendars and container routes both tighten from September through November, so ordering a few days ahead protects your demo date.
Materials that need their own plan
Heavy masonry follows weight rules rather than volume rules. Tile mortar beds, plaster, brick, and concrete are legal to toss but dense enough to max out a truck, so big masonry loads belong in a dedicated 10 yard rather than mixed into a 30. Mention them when you order and the plan sorts itself out.
Salvage before you smash, too. The Habitat for Humanity ReStore accepts cabinets, doors, fixtures, and appliances in usable condition, which lightens your load and gives the materials a second life. Hard exclusions stay out of the container entirely: wet paint, solvents, adhesives in liquid form, and refrigerant appliances like old refrigerators all need separate disposal, and a quick call settles anything questionable.
Keep the site safe while you work
A renovation dumpster earns its keep partly through what never happens: no nail studded lumber leaning against the house, no tile shards on the lawn, no debris path for kids and pets to find. A magnetic sweeper run across the driveway at the end of demo week picks up the nails and screws that escaped, which your tires will thank you for. Keep a clear walking route from the work zone to the container, carry awkward pieces like countertop sections with a second set of hands, and lower heavy material over the wall instead of hurling it.
Load level as the project winds down. Material above the rim cannot legally leave your driveway, and a mounded container turns pickup day into an unloading session. If the load is approaching the rim with demo still ahead, call for the swap early rather than playing debris Tetris in the final week.
Bottom Line
Renovation debris planning is three decisions: size the container for demo reality rather than optimism, deliver it before the first swing of the hammer, and give masonry and salvage their own paths. Load as you go and the mess never manages you. D&M Container Service supplies renovation dumpsters across Winchester and Frederick County with swaps that keep long projects moving, so call with your demo date and the container will be waiting when the crowbar comes out.
Related reading: Renting a Dumpster for an Estate Cleanout, Yard Waste and Fall Cleanup with a Roll Off Dumpster


